
|
|
Configure a Plots window 3D overlay |

3D Overlay
To access this dialog:
-
Right click the Overlays item for a plot in the Sheets control bar and click Insert...
This panel is display as part of the 3D overlay creation process. Click OK to generate a 3D overlay with the selected settings.
Once a 3D Overlay has been added, it will appear in the Overlays collection for the target sheet and projection, e.g.:
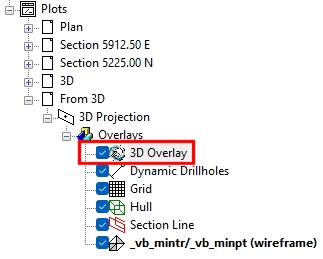
This can be considered a placeholder item; to populate the 3D overlay with loaded data, right-click the 3D Overlay item and select Create from Loaded Data.
Field Details:
Pixels Per Inch: enter the pixels-per-inch (PPI) value to be used for rendering the 3D overlay on the target plot sheet. Higher resolutions will produce more detailed data, although this can lead to longer processing times. Note that this value will be used for Studio session plot editing only; if the designed plot is printed, the printer's default DPI resolution will be used to produce a hard copy.
|
|
Related Topics |
|
|
3D Overlay Concept |